HRO recently had a great deal on Heil headsets so I decided to pickup a Heil Pro Set IC. I’ve been looking at these for years, so I figured it was finally time and I’m glad I did. The headset is great, super comfy and sounds great coming and going.
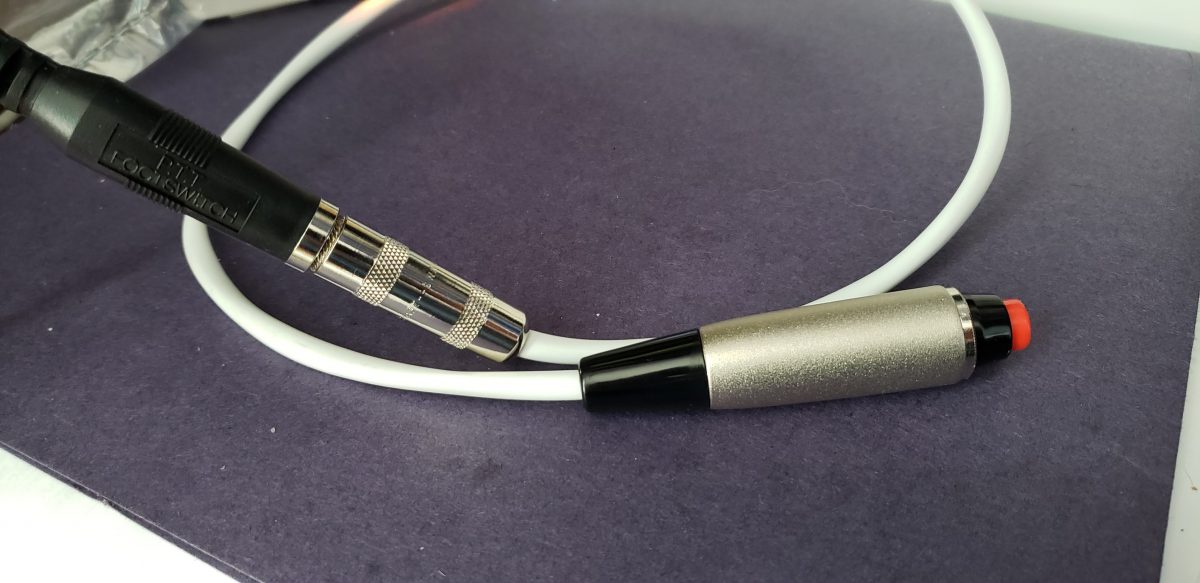
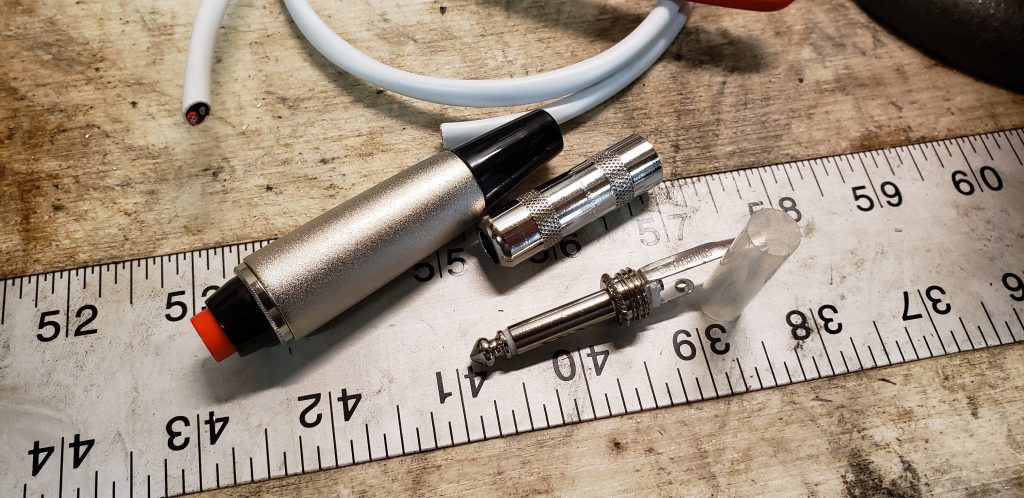
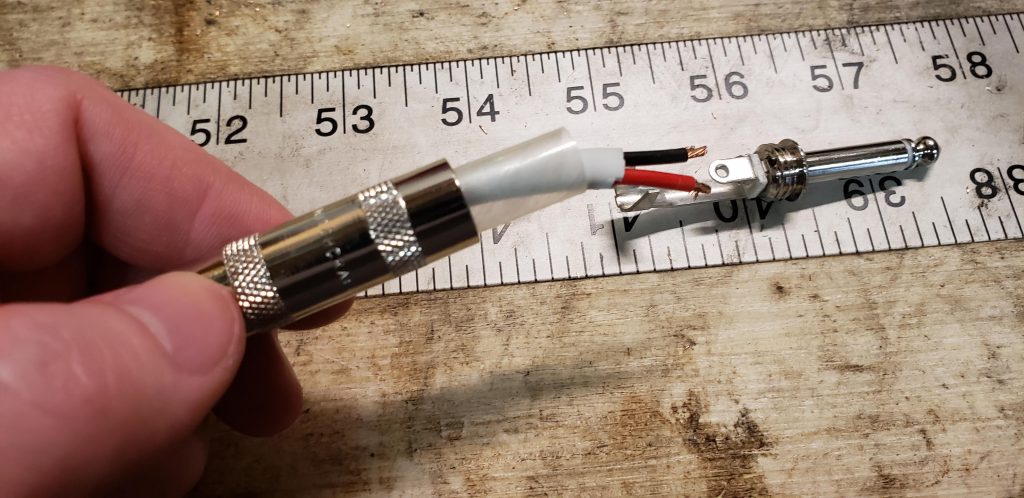
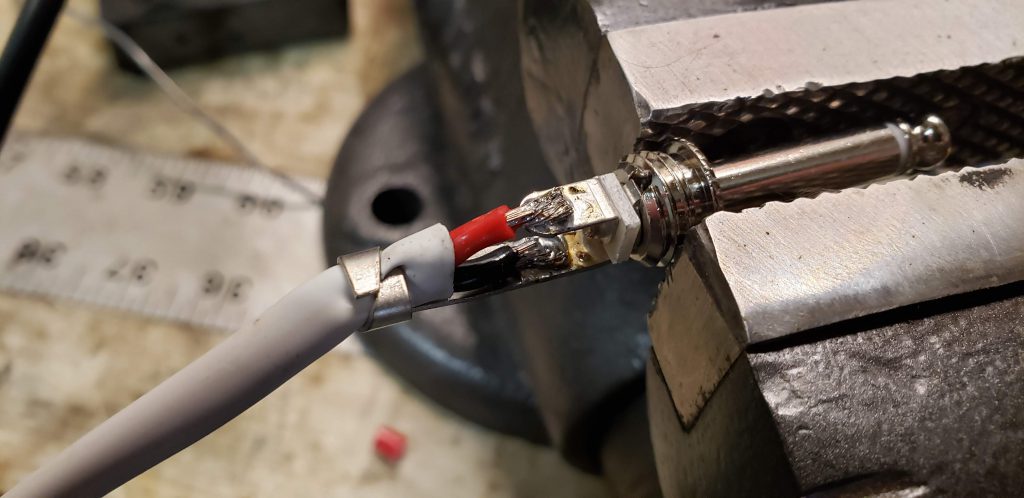
I didn’t much care for the Heil hand switches or their prices though, so I decided to make my own. I picked up a Philmore 30-825 Hand Switch and a Switchcraft 1/4″ TS connector (both made in America) and used some 16 awg speaker wire I had laying around. I think if you shopped around you could find the same parts for cheaper but overall I spent $14.48 in parts with free shipping.
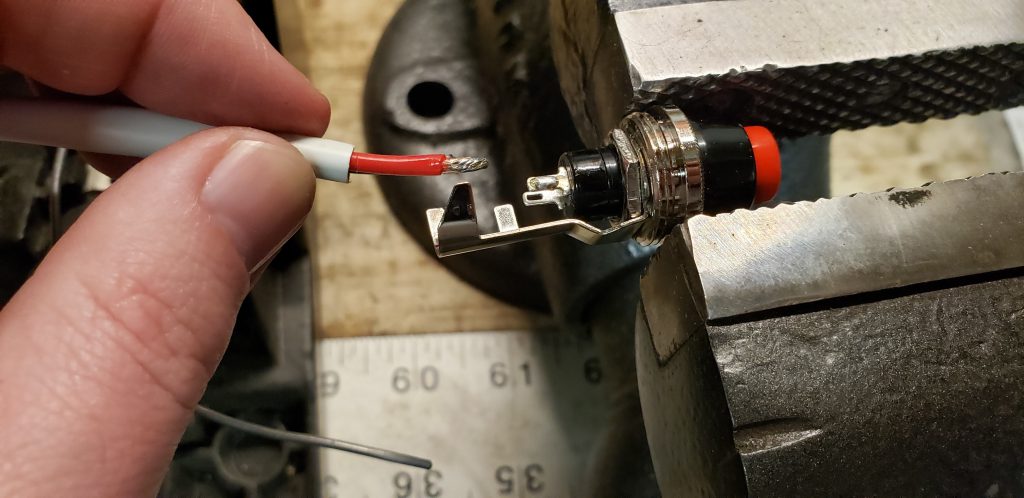
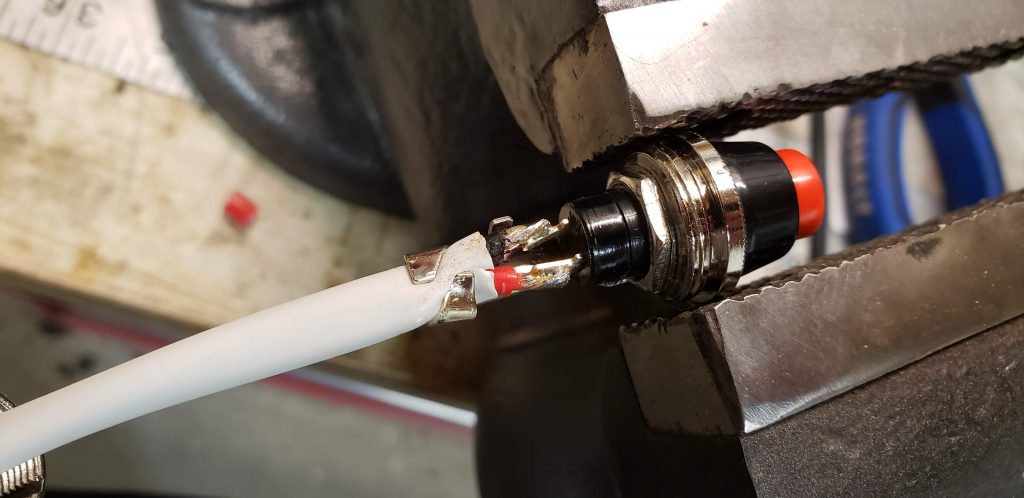
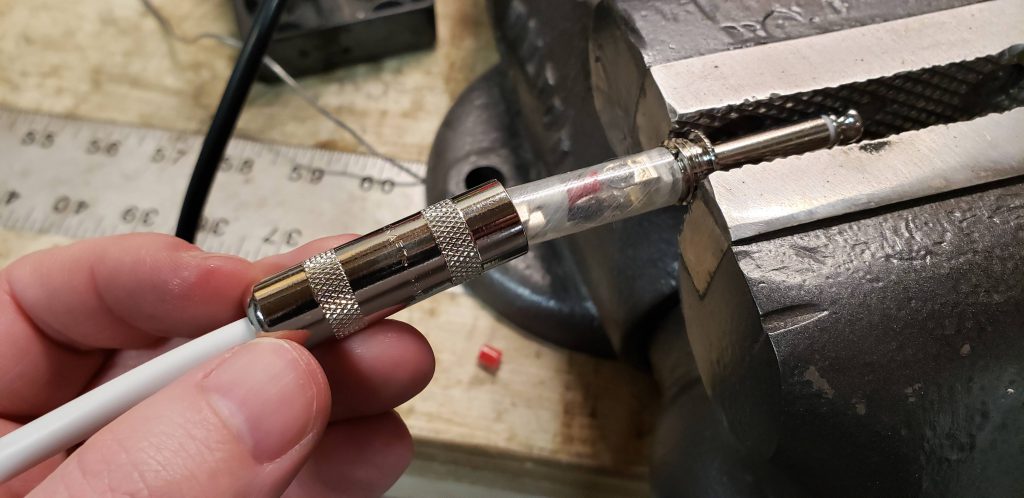
Putting it all together was about as simple of a DIY project as you can get. There’s no polarity to worry about and the body of the switch isn’t connected. Just solder the two wires on the switch to the tip and ring of the plug!
I really enjoy the Philmore switch. It fits well in the hand and the action on the switch is just right. It’s also easy enough to adjust the length for your operating setup. I made mine about 18″ and that works well for my desk.
If you are looking for a first DIY soldering project, you can’t get much easier than this. The switch and connector are really well made so they are very tolerant of the soldering iron heat unlike some of the cheaper plastic parts that you will find.
-Sean KB0VER