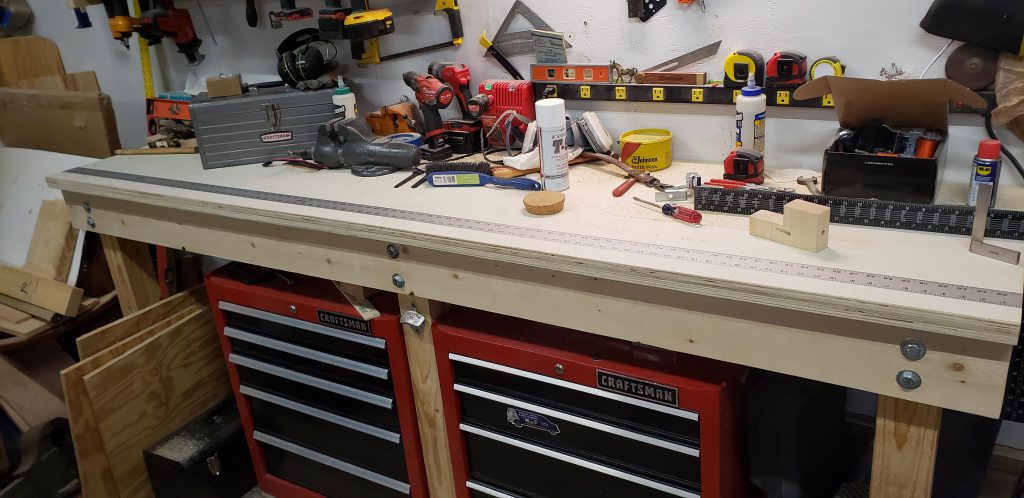
I inset an 8′ ruler into my workbench for quick and easy measurements. It cant run away from the workbench if it’s a part of the workbench right? Anyways here’s how I did it.
I looked at several rulers before I settled on the Starrett ASE-96. I liked that it had big easy to read numbers and could be read from either direction. It’s aluminum and pretty flexible. Its listed on their website as a straight edge. I’m not sure I would use something this large and flexible as a straight edge for much more than marking material. It’s 2″ wide and .125″ thick. The markings are printed on, not engraved. I’m not sure how well it will hold up over time, but it’s taken a bit of abuse and nothing has rubbed off yet. It does sit below the surface of the workbench just 1-2 thousandths to help with wear but it still feels flush most of the time.
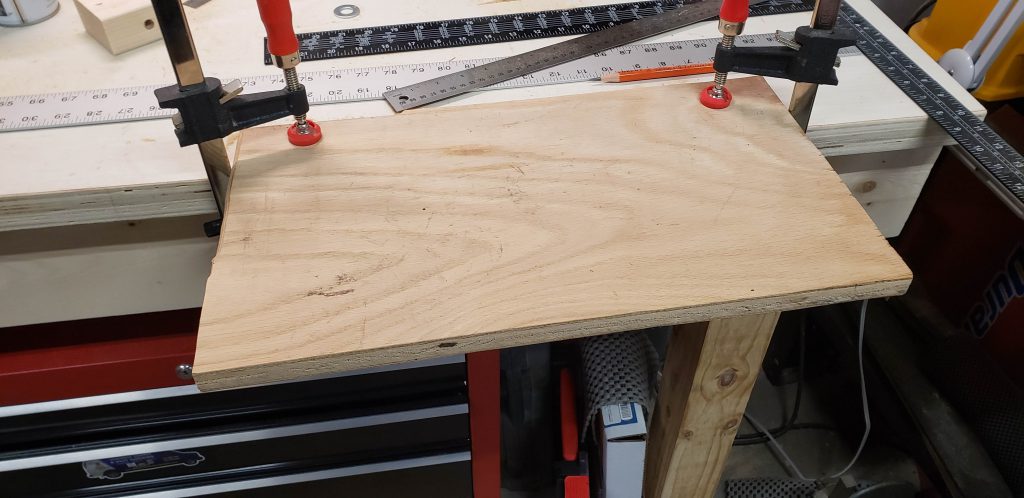
I started by mounting a piece of scrap plywood to the bench. It’s not the same plywood that the bench is made of, but it was close enough to get the router setup to make the dado.
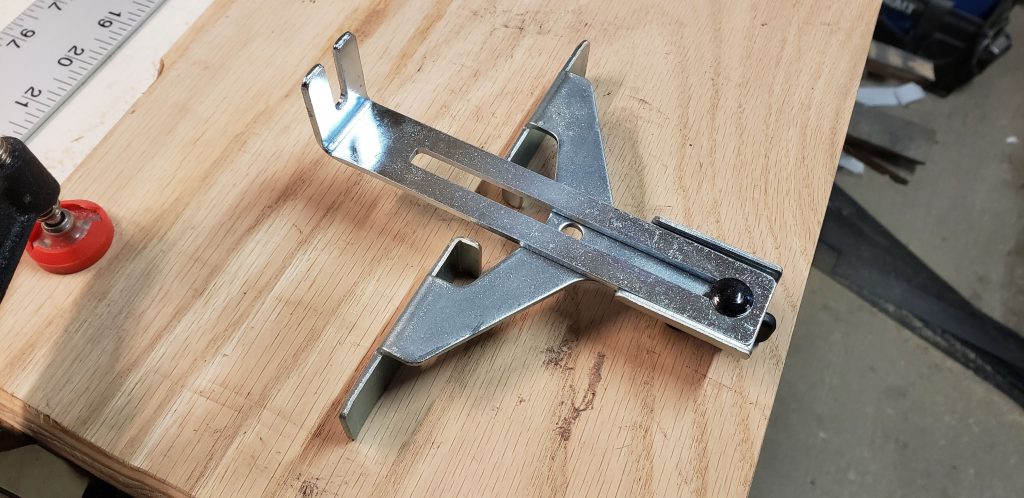
There are probably quite a few ways to do this and get the same results but I didn’t want to buy anything special for this. I used a 3/4″ cutter with a 1/4″ shaft in my Makita trim router. I used the straight guide attachment that came with the router.
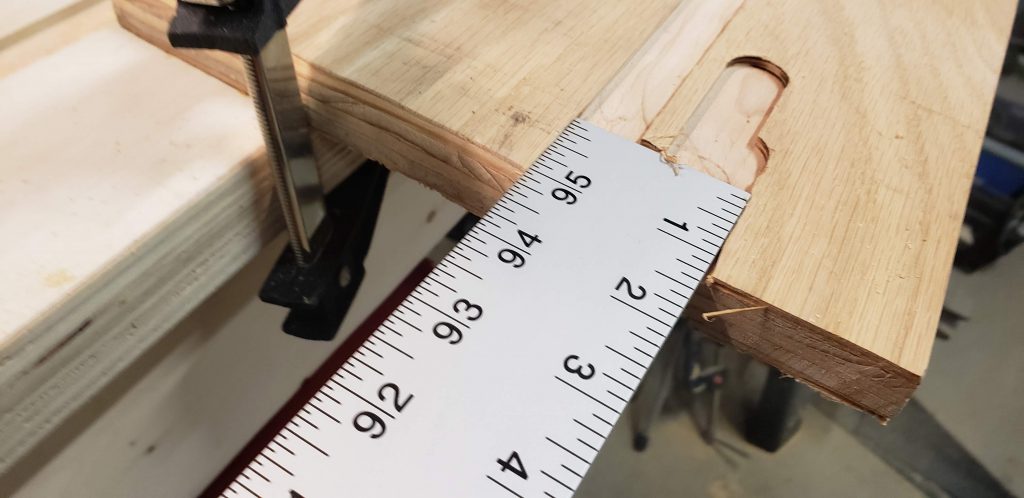
I wanted the ruler to be about 2″ from the edge of the workbench. The straight guide wouldn’t allow me to get that far in so I set it as far in as it would go and that cut to about 1 3/4″ from the edge.
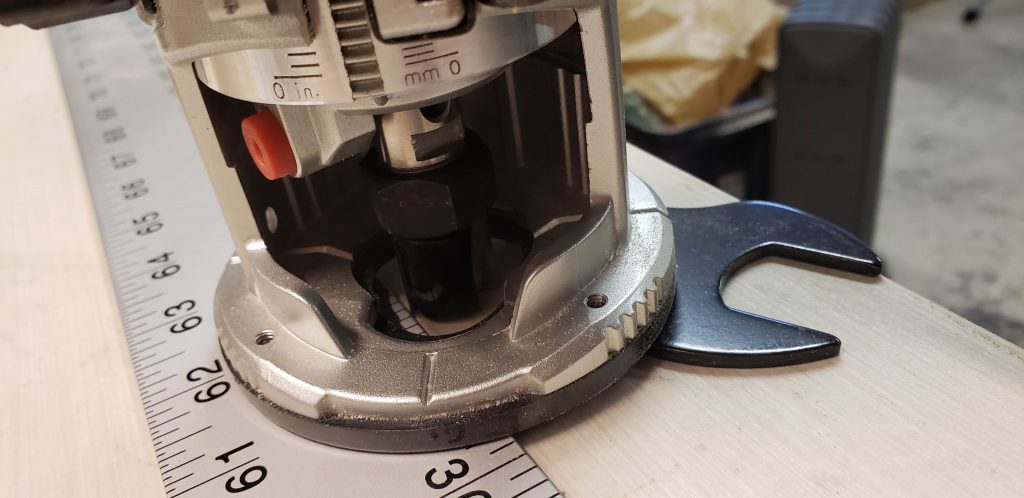
Setting the router depth took some trial and error. I wanted it to be somewhere between flush and just a hair under to help wear and tear. The wrench that came with the router when stacked ontop of an engineering ruler was exactly the same height as the ruler so I used the combo to find the right depth for the cut. I ended making the cut just a bit deeper. You could probably find the perfect height by adding a business card to the stack.
I made a few test passes to make sure that I had everything dialed in the way I wanted it to work.
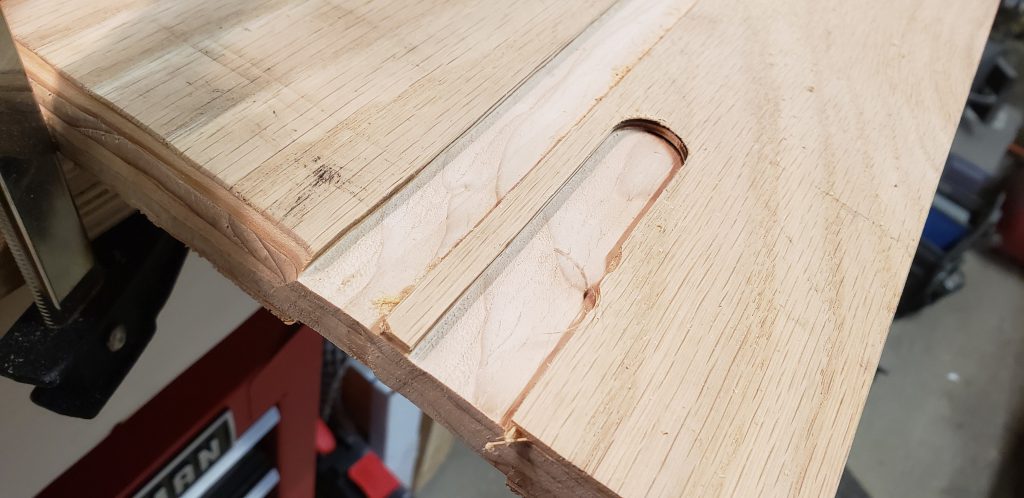
After I got everything dialed in I went ahead and made the first cut on the bench. Then I adjusted the guide to make the cut closest to the edge which left a little bit in the middle. That bit in the middle helped support the small base of the trim router. A wider base on the router would probably yield a flatter cut in the material. A couple of passes managed to get everything where it needed to be though. After each pass it’s very important to clean the work surface. A brush wasn’t cutting the mustard so I used the shop vac to make it nice and tidy for the next pass.
After the first two groves are cut I free hand removed the center strip. I didn’t have any issues with this, but it would probably be best to just readjust the guide to make the cut. It would be a shame if the router got out of control and hit one of your nice straight edges.
After I got the wood chips and dust cleaned up it was time for the moment of truth. I used a big piece of cork to push the ruler into the channel. It was a little snug but popped right in. I was originally going to use epoxy or screws to hold it in, but the press fit is doing a great job so far. We will see if that stays the same when the weather changes. It was 38 degrees Fahrenheit in the garage when I did this and I can only imagine that wood and aluminum will act differently as the weather warms up.
At this point it was just a matter of cleaning up. After that I did what anyone would do… and compared several rulers and tape measures against each other.
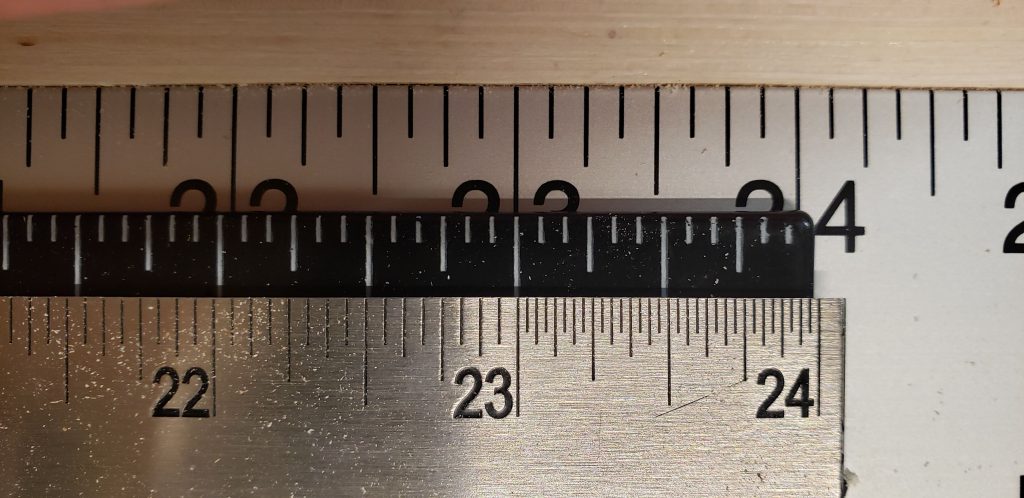
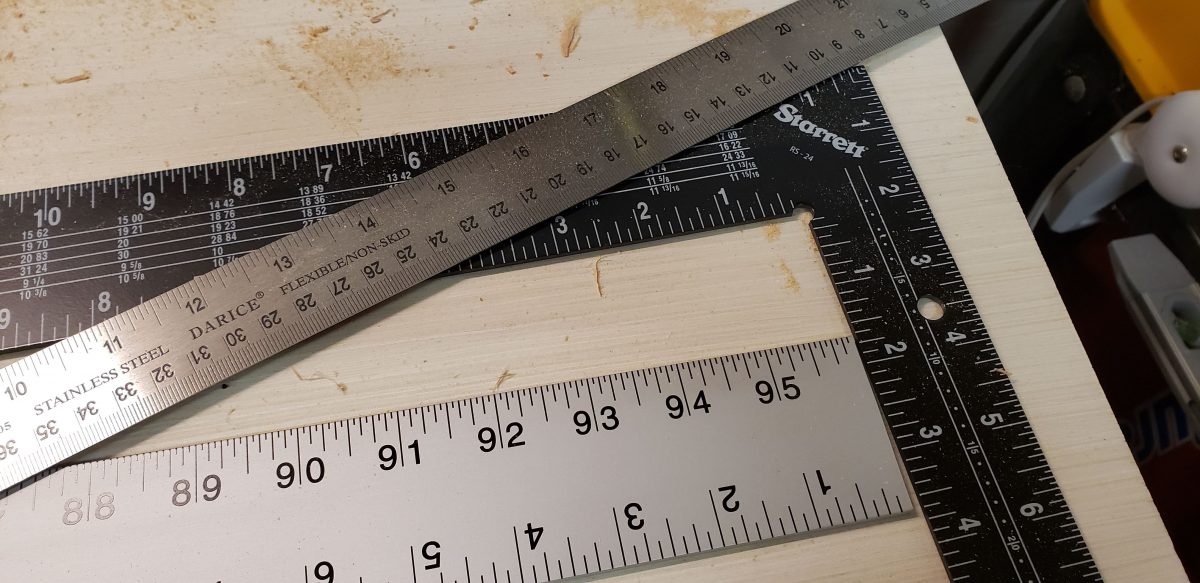
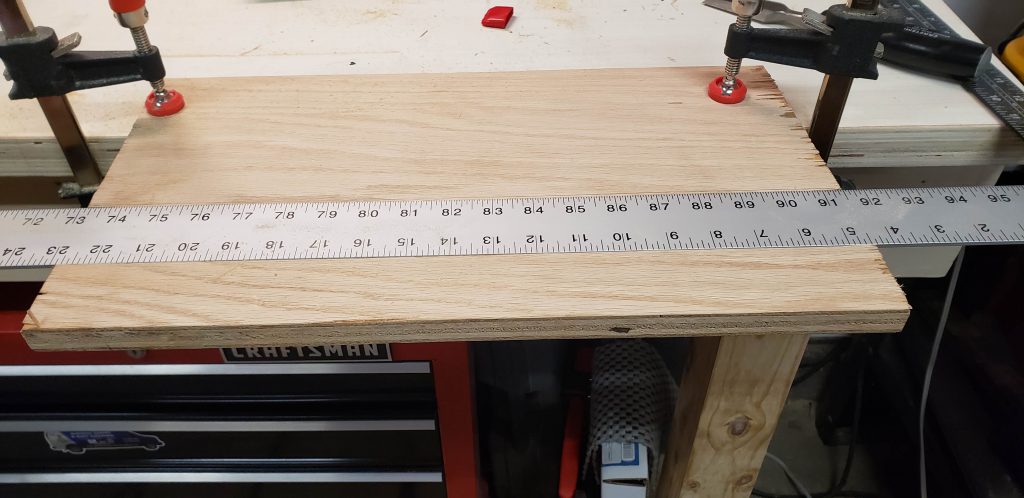
I started with a Starrett rafter square and a steel ruler that I had. Both were right on the money with each other at the 23″ mark.
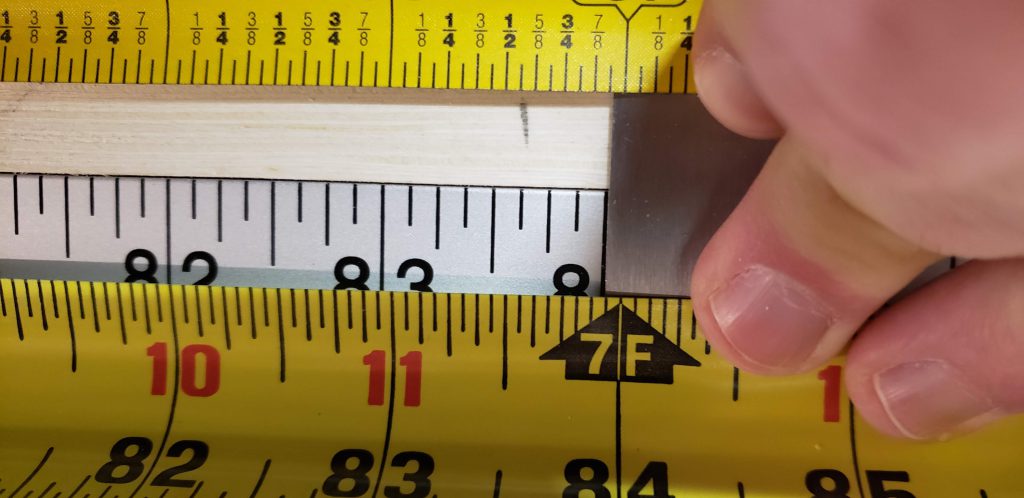
Next I took a Milwaukee and Stanley tape measure and ran them out. I put a square on the edge of the bench and you can see that at 84″ the Starrett ruler is 1/16th longer than both of the tape measures. I checked a few points in between and all 3 were within 1/16th of each other. Goes to show that if you need precision cuts you should use the same measuring device every time… or pay big bucks for calibrated devices.
I’m very happy with how this little project turned out. The overall cost was about $40 with taxes and shipping straight from Starrett. It came nicely packed in a stiff cardboard tube with paper smashed inside so it didn’t get mangled in shipping. There are little things that I would change about the ruler if I was king, but the price to performance ratio is through the roof. After using the bench a bit I haven’t had any problems with the numbers coming off.
I highly recommend you give this a shot yourself. Let me know how it works out for you!
-Sean
One reply on “Inset Ruler in Workbench”
Sean,
Thanks for the great instructions and helpful hints. I am finally putting together my craft room and I will be installing a 4′ metal ruler in my work bench, so I really appreciate you sharing!
BTW, just curious, but have you considered using a spar varnish over your work bench and the ruler to save the printed numbers? It would be an excellent, rugged finish…. but, I would test a small area first to make sure it wouldn’t mess up the ink on your ruler.
Thanks again,
Dorrie