
With an ever growing collection of tools and a workbench that isn’t growing anytime soon, I needed to find a way to sturdily mount various tools to the bench without having them take up the whole bench. I looked around online and found a few designs that others had made. Some required you to clamp them into a vise or bolt them through the workbench. I wanted a little bit more flexibility. I wanted to be able to mount it anywhere on the main bench, move the tool to another bench, or have some flexibility in a temp setup if necessary. I also wanted a way to store all of these tools.
I decided to make a simple plywood mount to clamp to my existing bench. I built the main workbench with a 1.5″ lip on 3 sides with clamping surface in mind. The main workbench surface is two 3/4″ pieces of ply glued and screwed together. I decided to make the temp mounts the same way. This gave me a little extra thickness to help recess the hardware, and a little more rigidity in case it can’t be clamped down in the ideal spot.
I decided to make all of the mounts with at least one common dimension so that they could be slid into a rack for storage. Most of the tools that I’ll have temporarily mounted will fit on a board that is just one foot wide so that became my common dimension. Most grinders and vises fit on a 1’x1′ mount, while longer items like sanders and planers fit on a 1’x2′ mount.
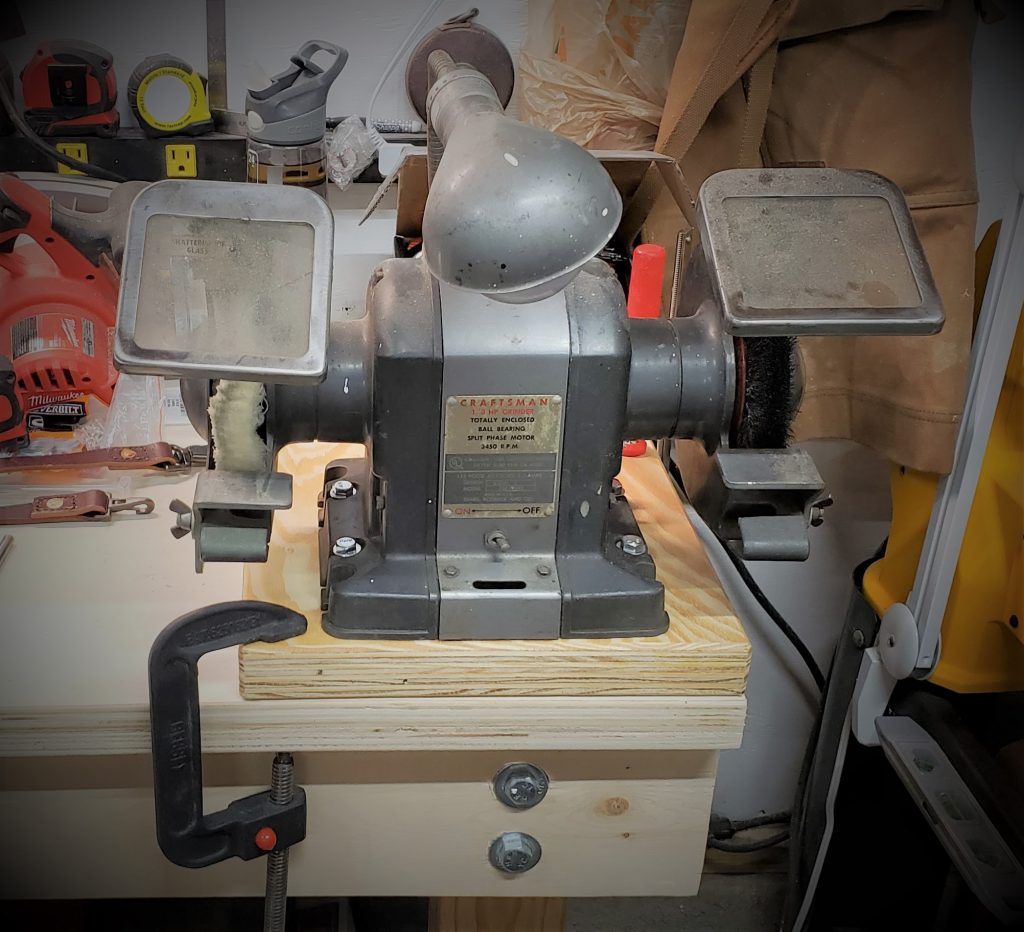
The first one I made was for my Craftsman 1/3 HP Block Grinder model 397.19580. For only being 1/3 HP this thing sure does pack a punch. I’ve been able to do most of what I need by just setting it on the bench, but I’ve really wanted to mount it for safety and so it didn’t get pushed around while working. With a buffing wheel on one side it also has a really bad vibration that tends tends to vibrate everything off the bench.
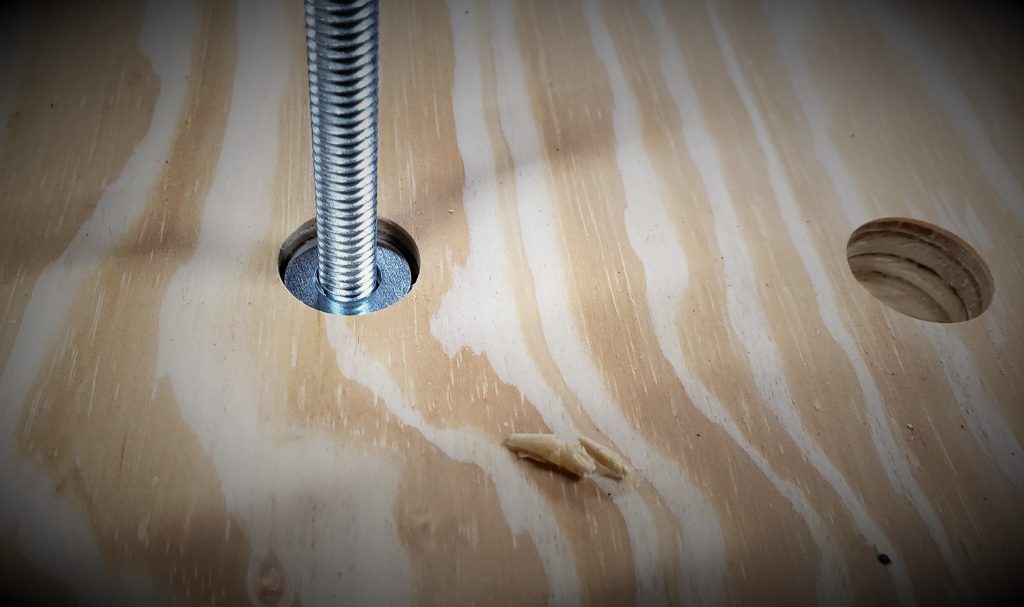
I started by mocking it up to make sure that everything was going to work the way I was expecting. Looked good so I picked up some 5/16″ x 2.5″ bolts, washers, and nylon lock nuts. The washers fit in a 3/4″ in hole and so do some of my sockets.
I started by making the 1’x1′ base. It’s just two pieces of plywood glued together. I did my cuts with a circular saw, but a table saw would probably be quicker and more accurate. I turned the grain 90° and sanded with 80/100/120 before gluing together. After the glue was dry I used my new Makita compact router to get the slides flush then used a 45° bit to give a bit of relief to the edge and corners.
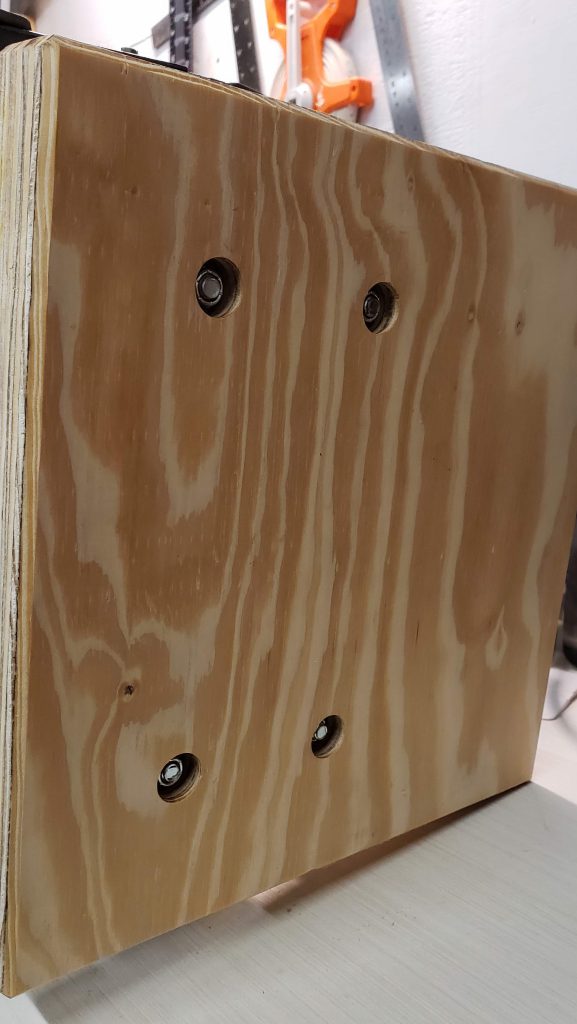
After the base was complete I put the router on top and marked through the mounting holes. I used the drill press to make the 5/16″ holes for the bolts and used a 3/4″ forstner bit so the hardware would be recessed. I made the small hole first and then did the larger hole. Looking back it would of been a lot easier to line everything up if I had done it the other way around. Wasn’t much of a problem on the big Craftsman 150 drill press, but if you were doing it with a hand drill it would be almost impossible to keep that forstner bit from dancing around.
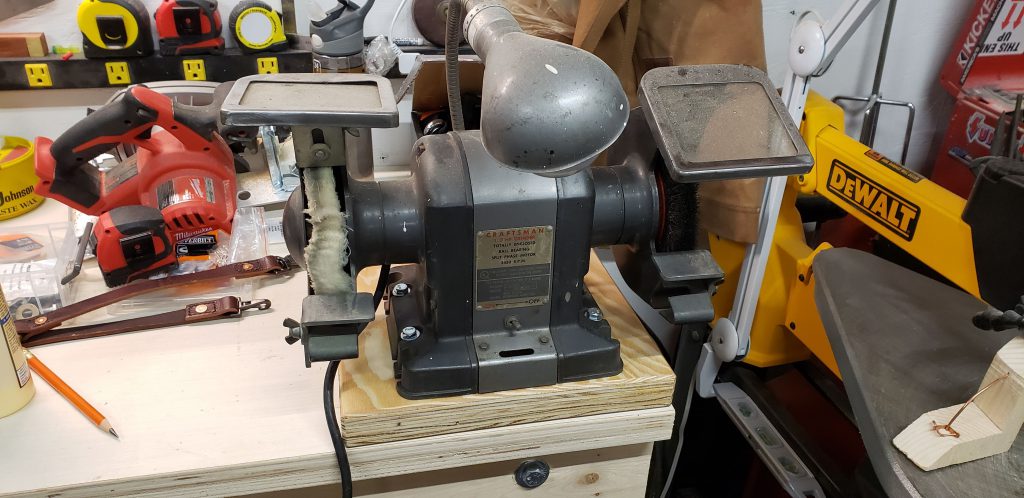
I used a pair of deep sockets to tighten it down then set it on the bench. Even without clamps, just the extra weight of the mount makes a huge difference. I threw on a c-clamp and a f-clamp and it was like it was mounted to the bench. I pulled on the grinder pretty hard in several directions and it didn’t budge. The mounting and the new bench also got rid of the vibration that I was experiencing before.
Overall this is as simple or as complex as you want to make it. This simple design allows a lot of flexibility for a lot of tools. I’ll make another post that shows the mount that holds all the tools… after I finish it 😉
-Sean
One reply on “Temporary Workbench Mount”
Your article is really helpful. thnks…